


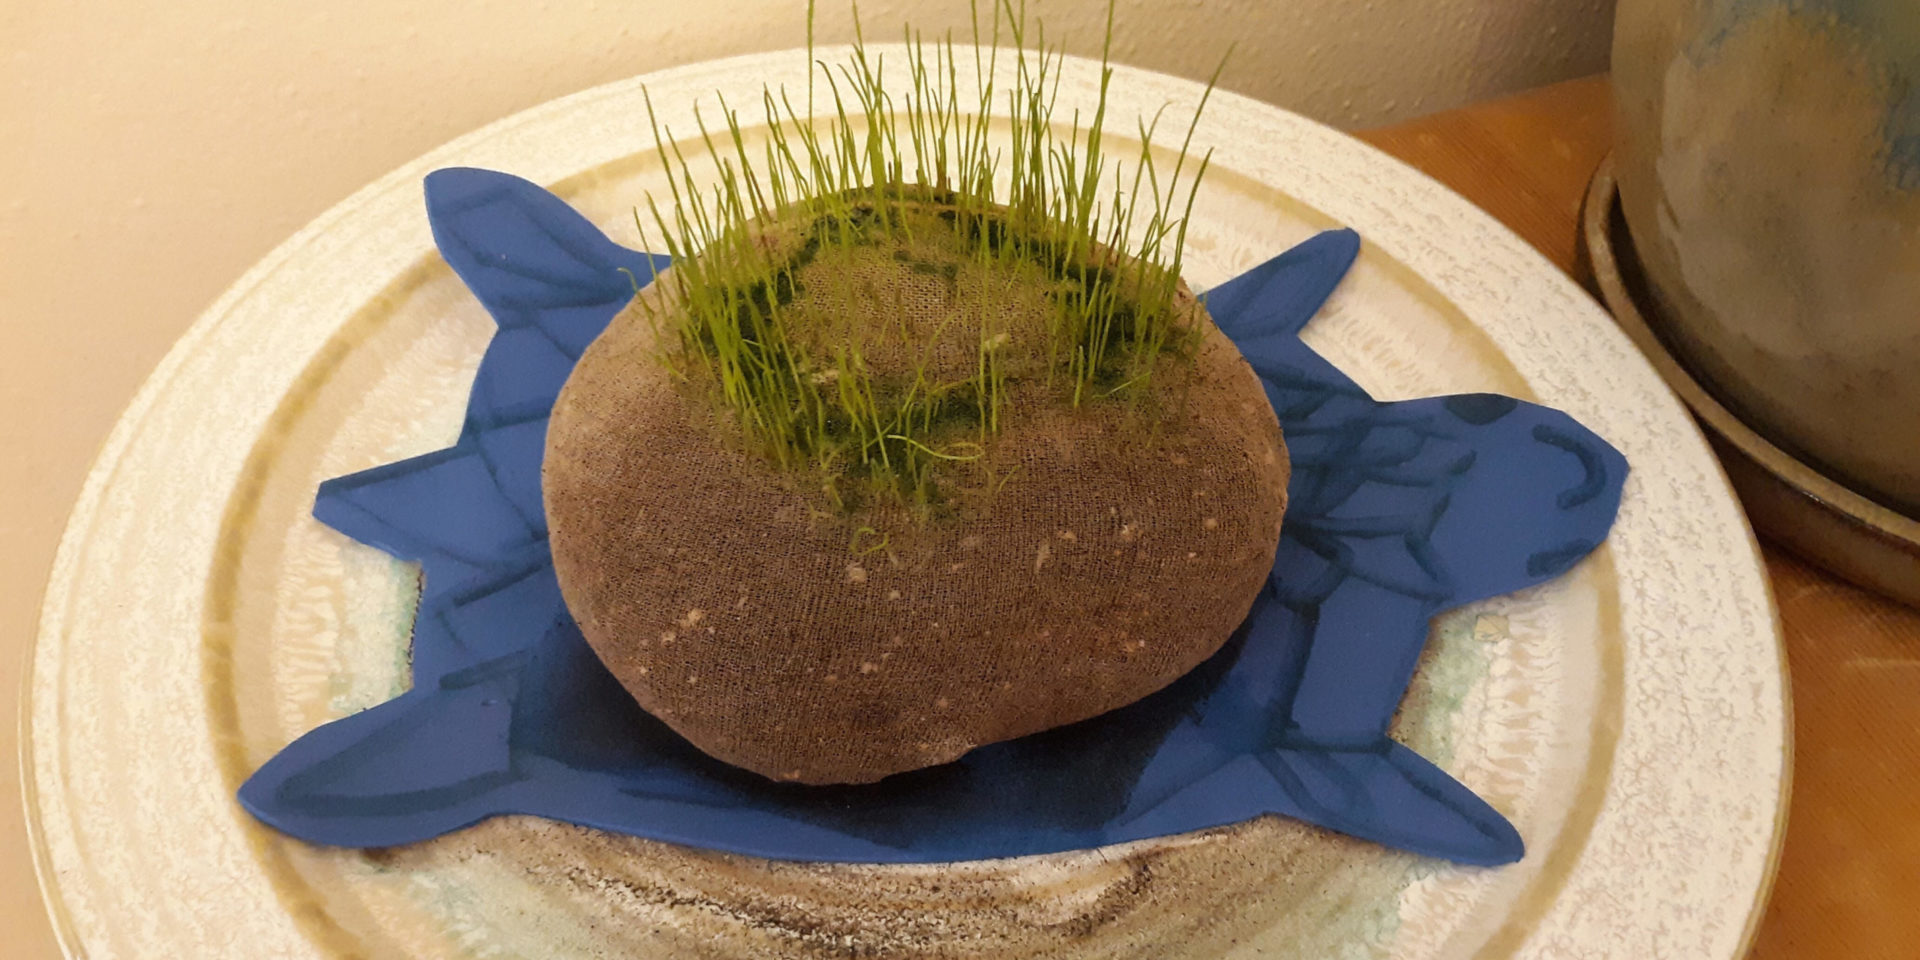
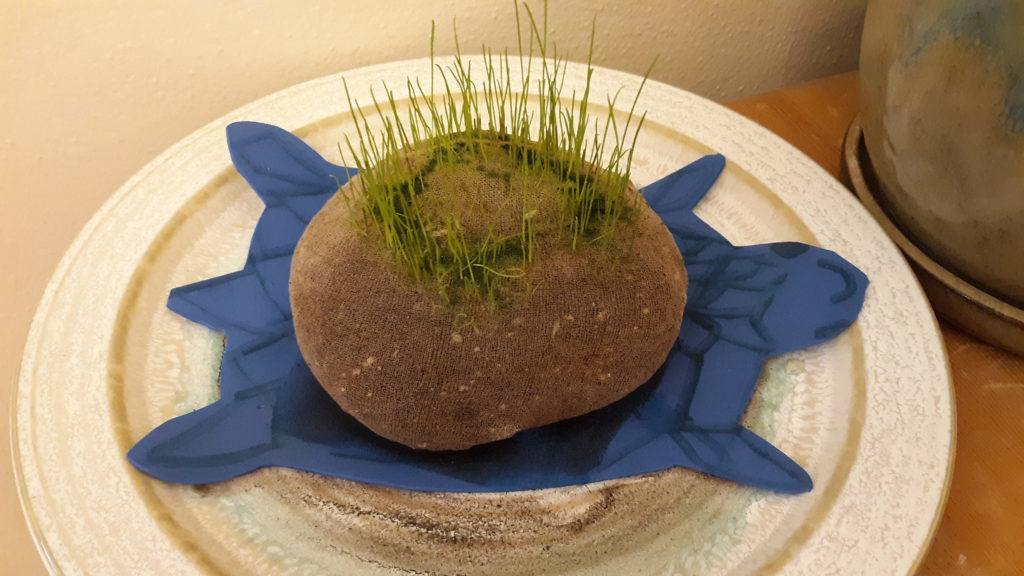
Turtle Sprouts
How to grow Gaia @ Home!
On Tuesday, May 26, through contactless distribution, ICG gave 45 Turtle Sprouts kits to three classes at Beverly J. Martin Elementary School so students can connect with nature at home by growing their own turtle!
Your family can also build their own turtle with household items by following these easy steps or downloading our printable Turtle Sprouts instructions!
Materials needed:
- 1 knee-high stocking (any sheer stocking material will work, you can cut to the size you need)
- Grass seed
- Soil (potting soil works better than soil you dig up outside)
- Water
- Scissors
- Craft foam (Don’t have craft foam? Try a recycled cereal box and plastic lid)
- Optional: markers, crayons, googly eyes, glue

Step 1:
Start by cutting out your turtle shape from craft foam. If you don’t have craft foam, try using a recycled cereal or cracker box. Once your shape is cut out, you can decorate it if you’d like. Markers and crayons work well.
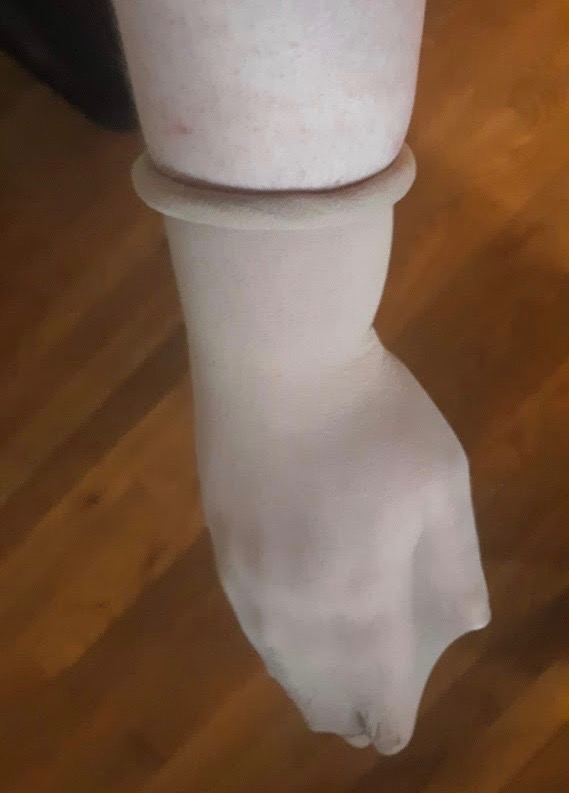
Step 2:
Put the knee high stocking on your arm and stretch it up to your elbow like it’s a long glove. Starting near your elbow roll the stocking down until it reaches your wrist. From here you can remove it from your hand, holding it open to make a bowl.
For the next 2 steps, ask a family member for help holding your “bowl” open.
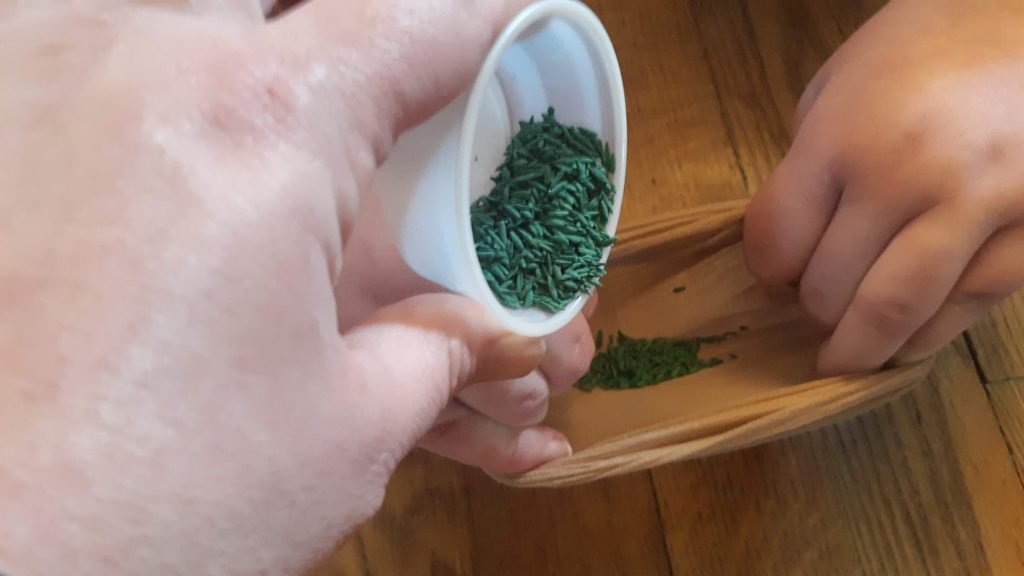
Step 3:
Scoop 2-4 spoonfuls of grass seed into your stocking “bowl.”
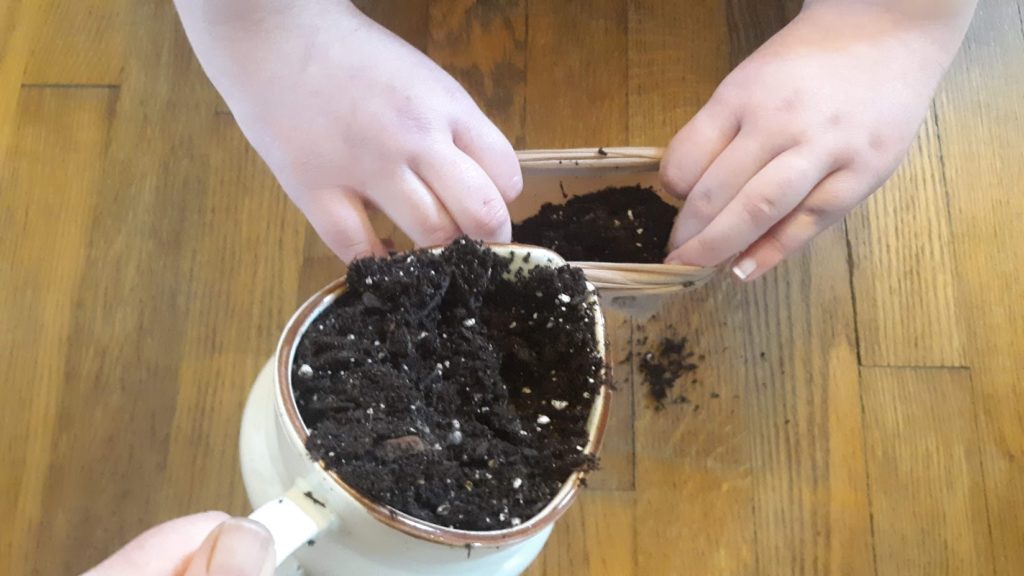
Step 4:
Next add 1-2 cups of soil to your stocking “bowl.”
Step 5
Your stocking might look like a snake or a worm right now. If that’s the case, hold the opening closed and gently bounce the soil end on your hand until you get a ball shape.
Step 6
Just like on a balloon, tie a knot, as close to the soil as possible. (You can cut the excess of stocking off with scissors if you’d like.)
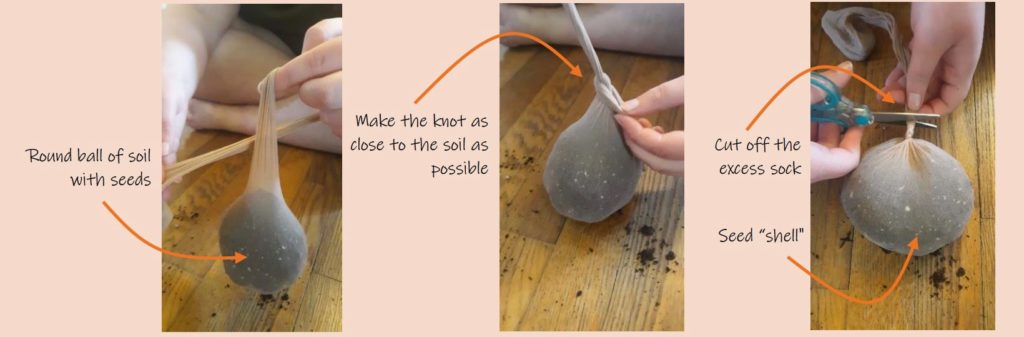
Step 7
Looking at your filled “shell” check the grass seed. It needs light to germinate so don’t squish it into the soil. However, if it’s bunched up in one spot, spread it out with your fingertips.
Step 8:
Looking at your filled “shell” check the grass seed. It needs light to germinate so don’t squish it into the soil. However, if it’s bunched up in one spot, spread it out with your fingertips.
Step 9:
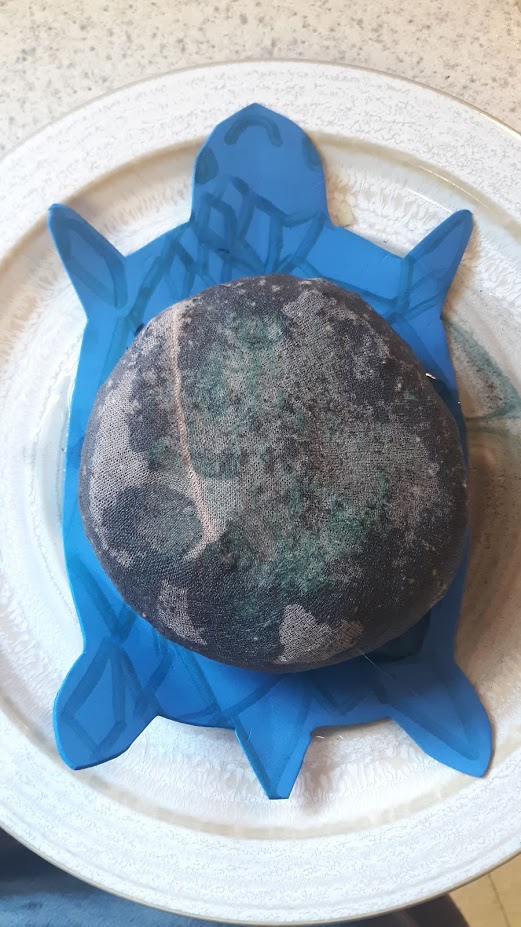
Put your damp “shell” on top of your foam turtle, making sure the seeds are showing at the top. If you’re using cardboard for your turtle, place your shell on a plastic lid first and then on your cardboard turtle. Set the turtle and shell on a plate to catch any water drips and find a place on a sunny windowsill.
Step 10:
Watch your turtle sprout grow! Remember to check it every day or two and water using a bowl if the soil is dry. As your grass grows, you can trim it with scissors.