


Windowsill Sprouts
What are microgreens?
Microgreens are baby plants, unlike sprouts that don’t have any leaves yet and baby greens that have a few, microgreens are about 1-3 inches tall and consist of the plant’s cotyledon leaves and first pair of true leaves. The first leaves that emerge when a seed begins to grow are the cotyledons. They are part of the seed’s embryo and provide nutrients to the seedling until true leaves grow and begin photosynthesizing, turning sunlight, air, and water into sugar to feed the plant. You’ll harvest your microgreens after the first set of true leaves grow. Growing microgreens is super forgiving and you don’t have to wait long to nibble, just a couple of weeks. The bonus, microgreens pack a hefty nutritional punch, often containing higher nutrient levels than mature vegetable greens. They also are incredibly cute and taste delicious!
What you need:
- Sunny Window: look for one that gets at least 4 hours of sunlight a day
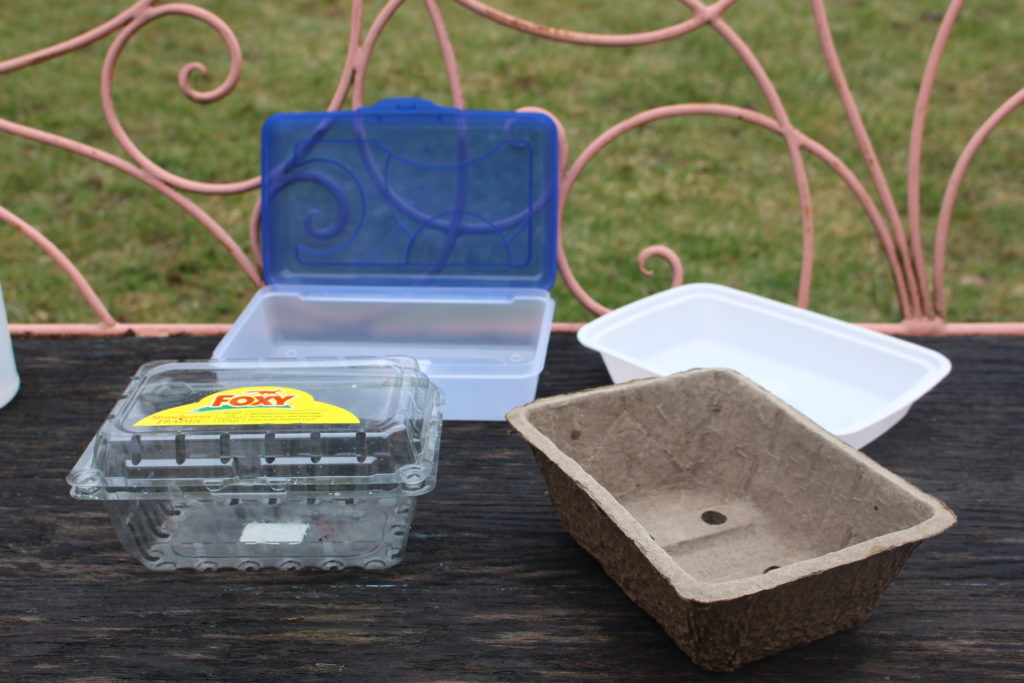
- Shallow Container: take out containers, seed starting trays, the clamshells that salad greens and berries come in… anything will do!
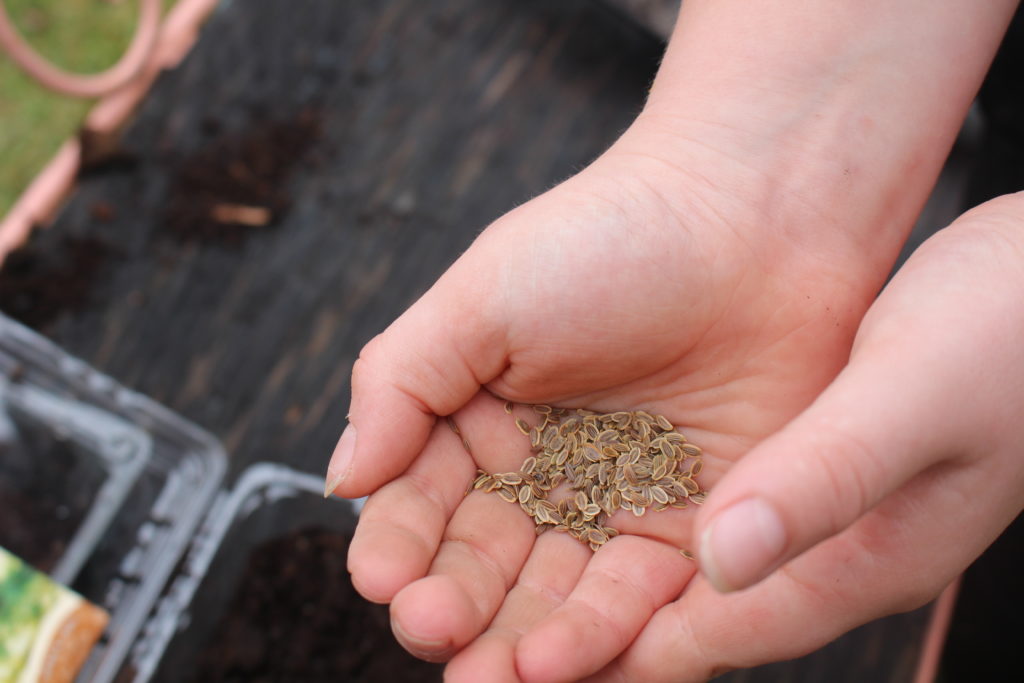
- Seeds: peas, radish, carrots, lettuce, spinach, kale, kohlrabi, mustard, basil, parsley, arugula, cabbage… the opportunities are endless!
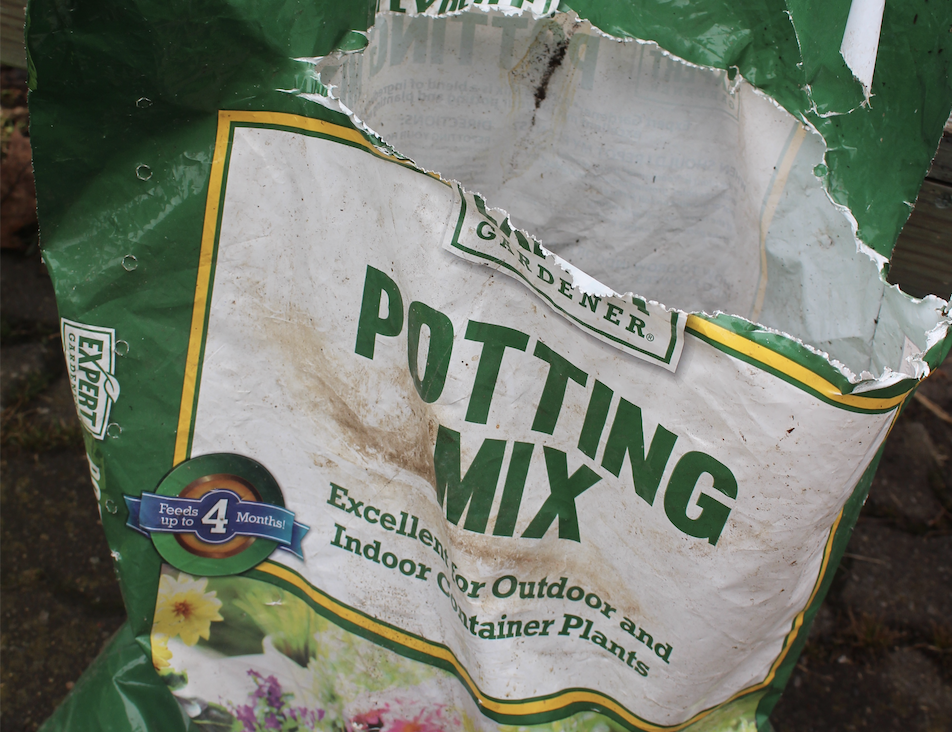
- Potting Soil: any seed-starting medium or potting soil will work. Avoid ones with fertilizers already mixed in.
- Spray bottle (optional, but helpful): it’s easier for little hands to mist with the spray bottle than pour with a watering can.
Let’s Get Growing:
STEP 1: Stick your hands in your soil and smoosh them around. Does it feel really dry, slightly damp or really wet? If it feels really dry, pour some water in and smoosh it around some more. Make sure your soil is moist but not soggy. Try making a ball with your soil. If the ball falls apart it needs more water. If you can make a ball and it sticks together, it’s just right. If your ball sticks together but drips out water when you squeeze it, it’s a bit too wet.
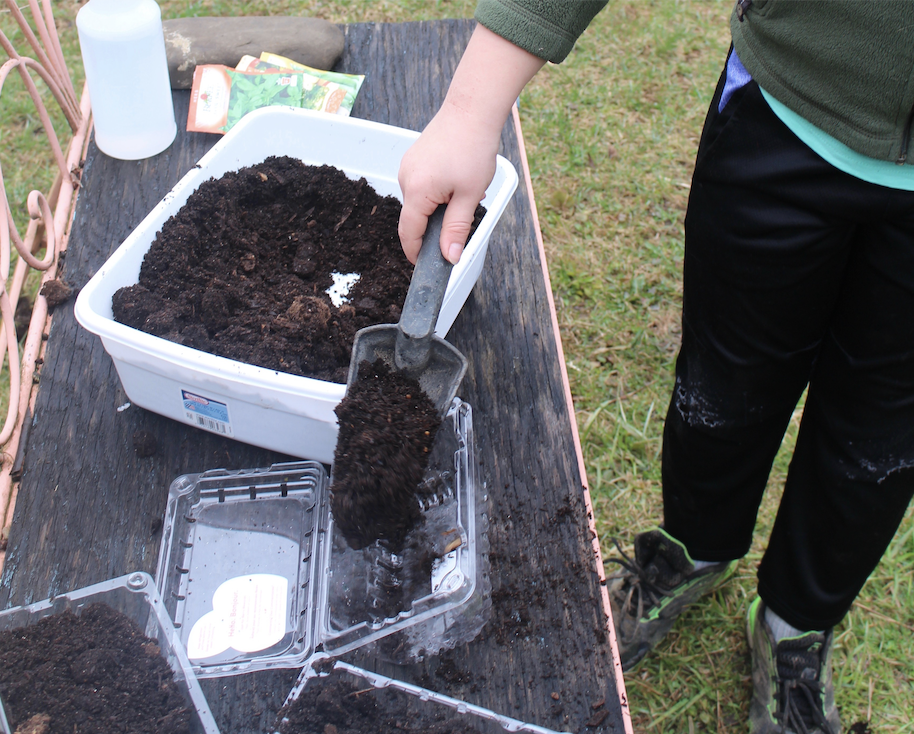
STEP 2: Fill your containers with the soil. Microgreens don’t need a lot of soil because you’ll harvest them before the roots have a chance to grow very much. If your containers are deep, no need to fill them all the way to the top.
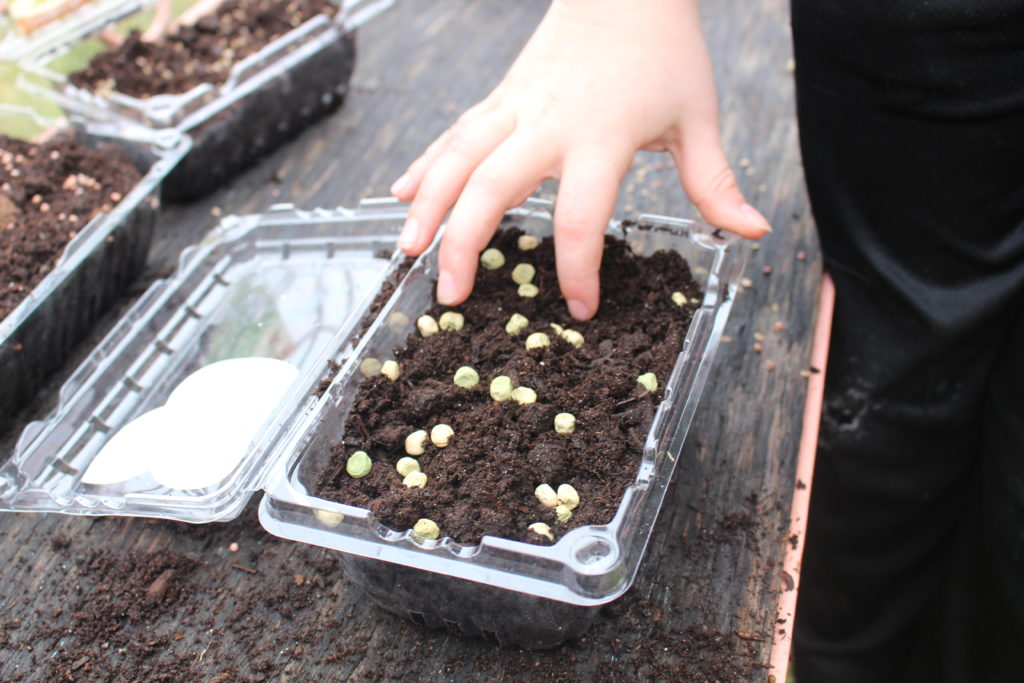
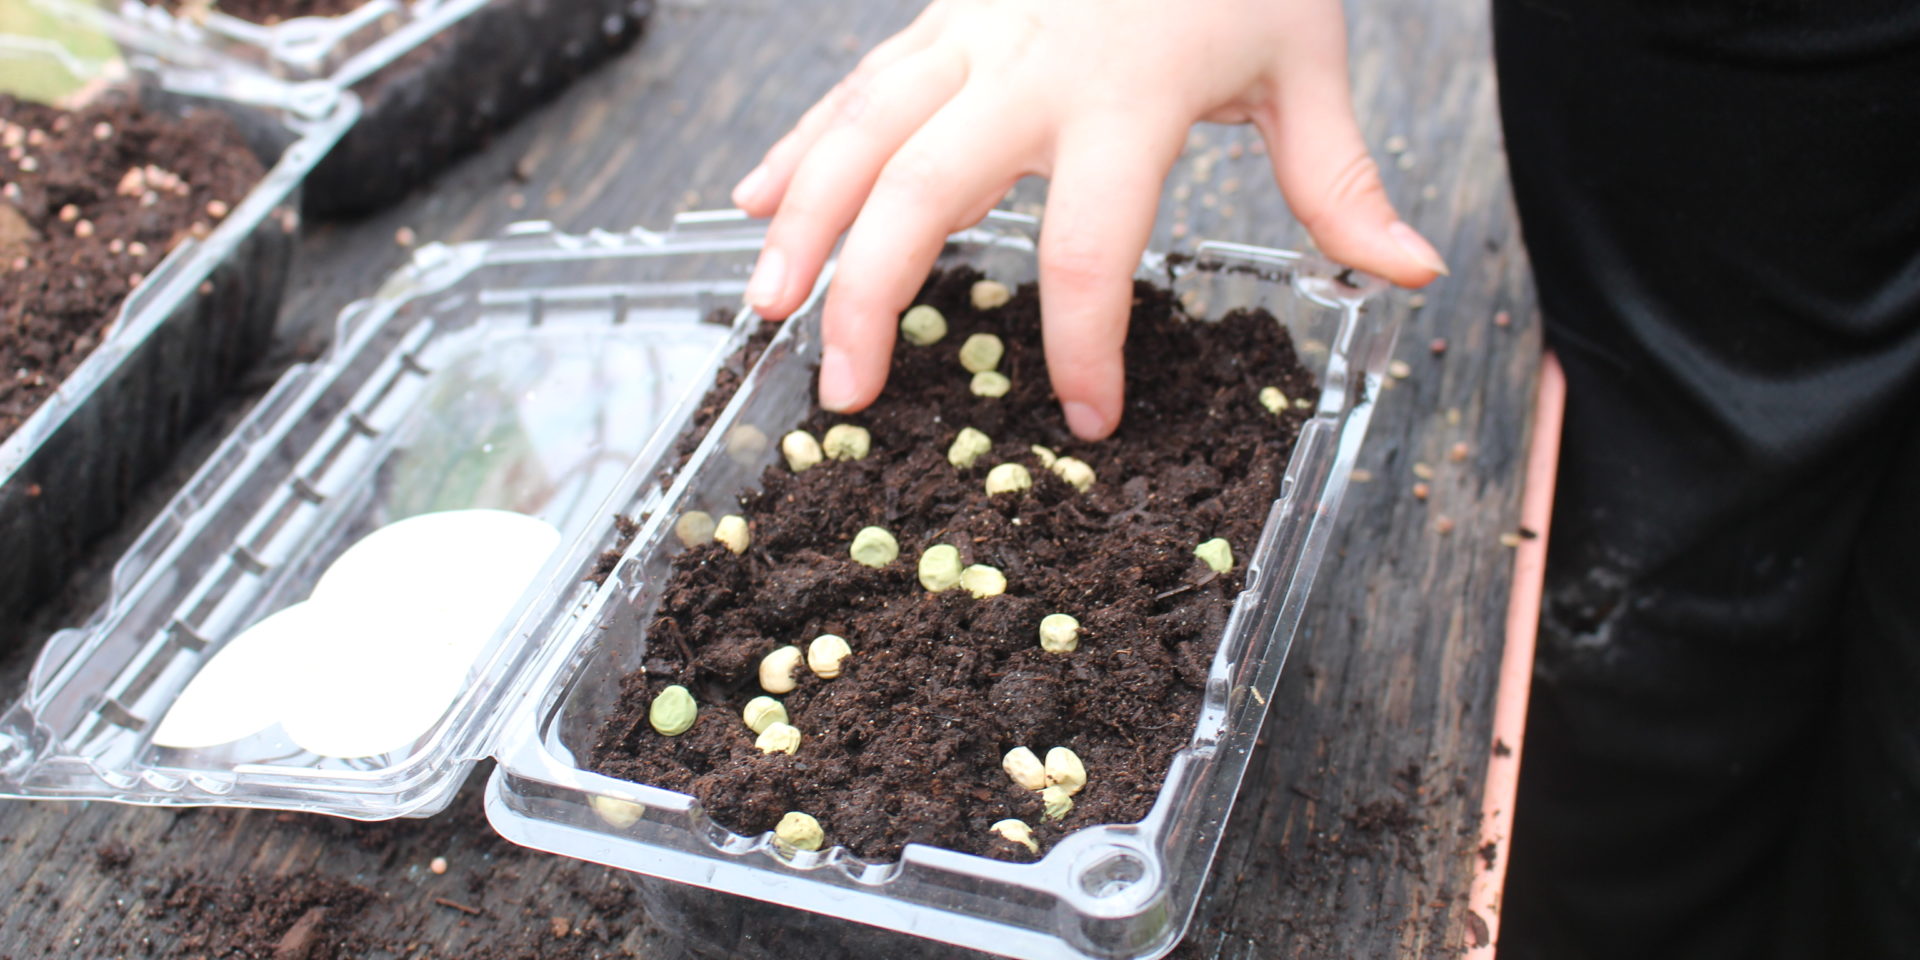
STEP 3: Now it’s time for seeds. No need to space the seeds out. Spread them across the top. We’re hoping for a carpet of seedlings. For big seeds like peas, use your finger to push the seeds gently under the soil. For tiny seeds like lettuce, you can leave them right on top or sprinkle a little bit of soil over the seeds.
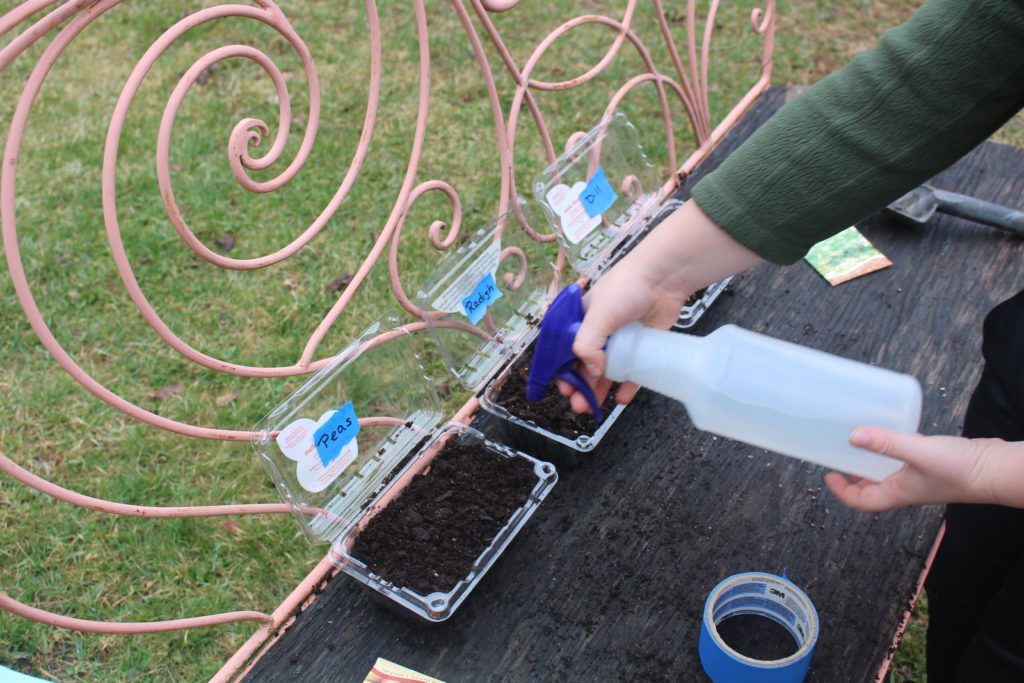
STEP 4: Give your seeds a mist with your spray bottle. Find them a home on a sunny windowsill.
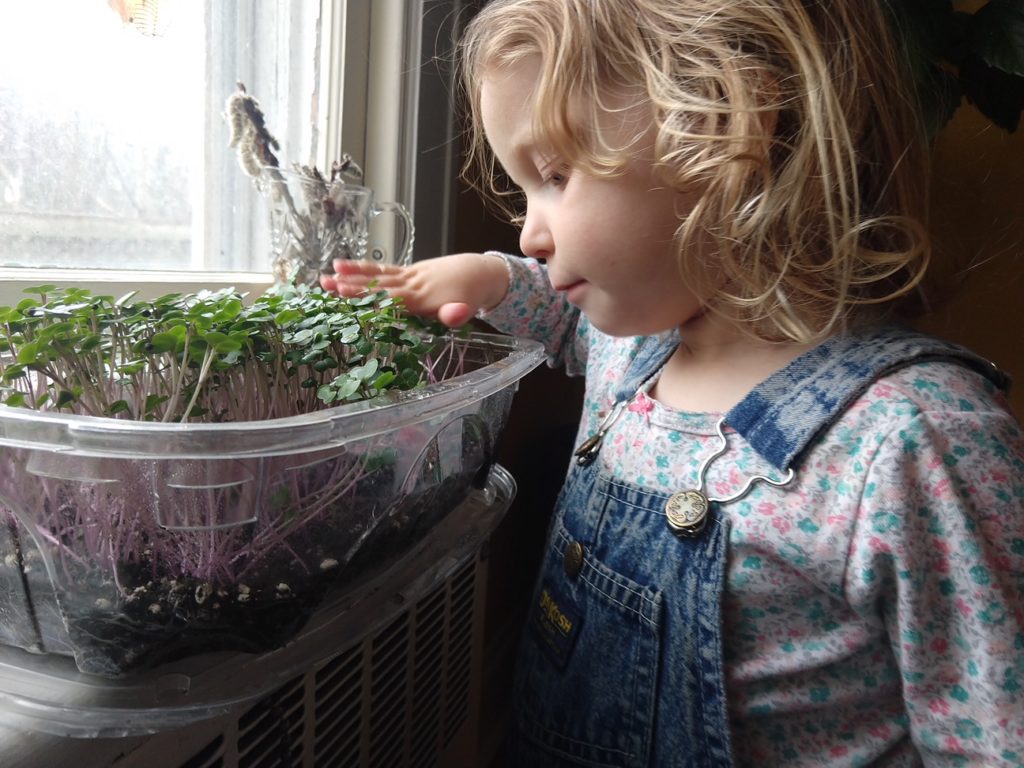
STEP 5: Check on your seeds every day. Give them a few mists of water to keep them moist. Watch them grow. In 2-3 weeks they’ll be ready to harvest and eat. Kids’ scissors work great for harvesting. Cut the stems near the soil and munch away or add to your sandwich or salad.